Production Diary – Blog
First let’s start with the approach into Foley and ADR taken during this semester. As stablished in our Handbook, ‘Foley and ADR are specialized post-production audio techniques which form an integral and essential part of the moving image production process. Working with talent in a studio setting is also time consuming and requires a meticulous and patient approach in order to achieve desired outcomes. Students need to gain experience in managing the technology and the talent associated with advanced post-production sound, and in working speedily in a time-limited environment. The skill set of any student wishing to work in sound for picture would be incomplete without this.’
Now let’s define both things,
- Foley: ‘sound effects recorded during post-production while watching the edited picture. It its intended to blend with the rest of the soundtrack, which includes dialog, music or other recorded effects or ambient sound.’ (Contis 2019).
- ADR (Automated Dialog Replacement): ‘process of re-recording audio in a more controlled and quieter setting, usually in a studio. It involves the re-recording of dialogue – after filming as a way to improve audio quality or reflect dialogue changes.’ (What is ADR in Film? 2019)
As mentioned before, both are post-production audio techniques, they’re both used in films in order to give the audience a more credible film for them to enjoy. Foley and ADR both work hand-in-hand during all post-production process, they both work as a way to ‘fix’ errors made during production, like a bad recording, an undesired sound in the background, low-impact sounds, to create a better performance, changes of dialogue, etc. The way both work is, once the film is already edited, either Foley Artists of Actors would go into the studio and watch the edited desirable scene over and over again.
For Foley Artist, they previously must have spotted the session in order for them to know which sounds they are required to recreate and when in the film they appear. Usually Foley Artist re-do the scene without any other original sound, because Foleys are more of a visual cue than an audio one. It is different for dialogues, sometimes the actors go into the studio several months after they did the original recording, so they may prefer to actually listen the original audio in order to re-do the desired part by the director. This is different from animated movies though, sometimes the animation will be created from the actual pronunciations of the actors and match their movements, instead of going the other way. It’s different from dubbing too, in here, dialogue must match the already existent animated (or non-animated) piece, which varies from animation style, it can be as vague as just open and close 2D animation, to a whole 3D Claymation movement, so every movie has its own challenges. Same goes for live action movies, the already existing movement must be matched by the dialogue replacement in the new language.
Now, onto the project. What we were required to do was: ‘extract – a short three (3) minute scene from a movie of your choice. You must then replace all of the sound in the scene with sound that you have recorded.’
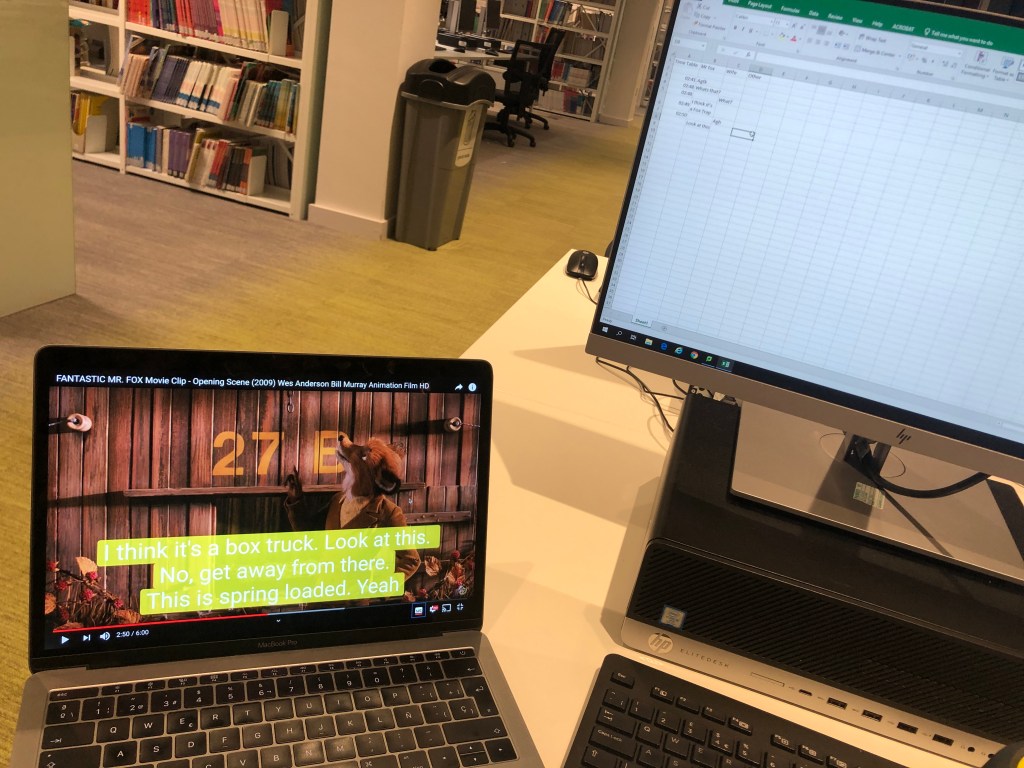
So, it’s basically re-do a whole already existing scene. Me and my partner decided to re-do a scene from the movie ‘Fantastic Mr. Fox’, it is an animated movie, using the stop motion technique. Now, the stop motion brought a whole new challenge for us, because of the attention to detail we needed when recording, since every bit of movement in the movie has a purpose behind it. Once we analyzed the whole scene, we realized we were going to have an even bigger challenge that we thought, because we had different creative approaches to what the actual movie entails. For example, the movie has a lot of scenes with background music, and most of the time is non-diegetic music (the source is not visible to the audience) and we were not going to use that to our advantage as the actual scene does. With bigger challenge we mean that many scenes that have a lot of small ‘sounding’ details were covered by the movie score, and thanks to that we had to come up with new ideas for the details we cannot even hear in the original recording.
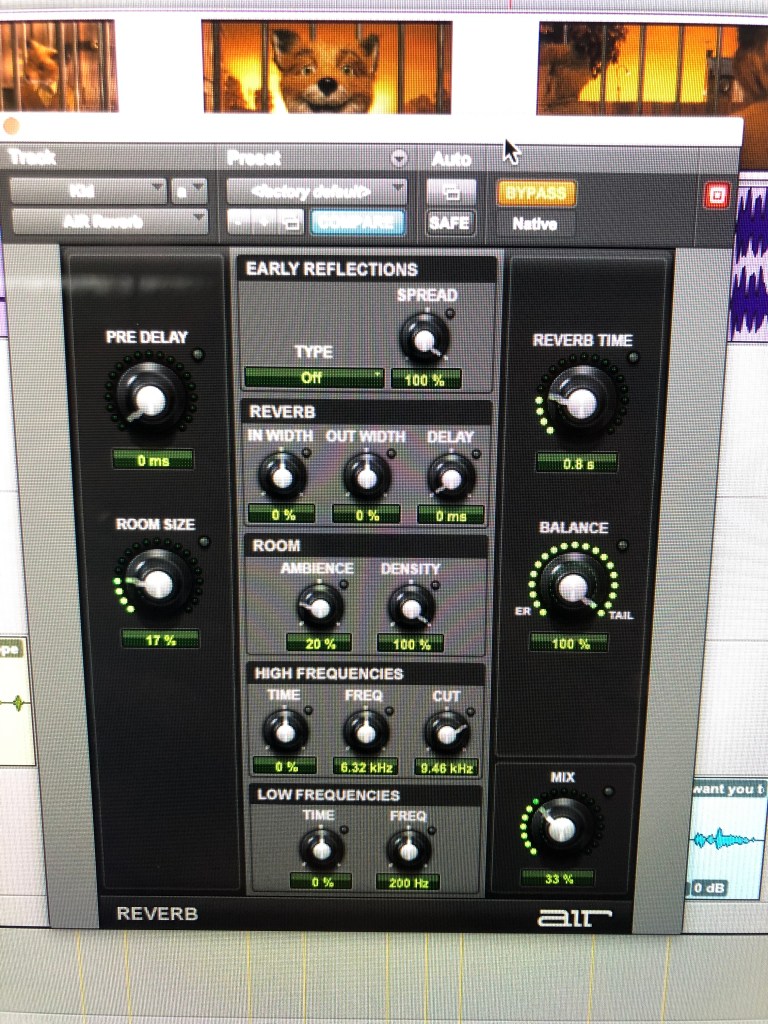
The last different creative approach we had was with the use of reverb and the sounds of steps, in the actual movie, during the kitchen scene, the whole conversation the Foxes entail have huge amount of reverb (because they are inside of a hole) but once we were editing we didn’t think that much amount was necessary for all the places inside the kitchen, because it’s not an empty room and so the sound should not bounce that much, but there is an even smaller hole inside the kitchen, which is where the kid appears, and there we agreed that there should be an exaggerated reverb compared to the outside from it. Lastly the steps (also during the kitchen scene), my partner and I agreed with the actual scene that there should be a minimum sound coming from them, because they are not even wearing shoes in any scene and they have paws, so we agreed that there should be close to no sound coming from them. The only scenes we did use sound for the footsteps was in an outside scene where they move more abruptly (in the movie they are covered with the score and we didn’t realized that those was missing until our teacher pointed it out to us) and again, in the smaller hole inside the kitchen for the kid, because sound would essentially bounce more there.
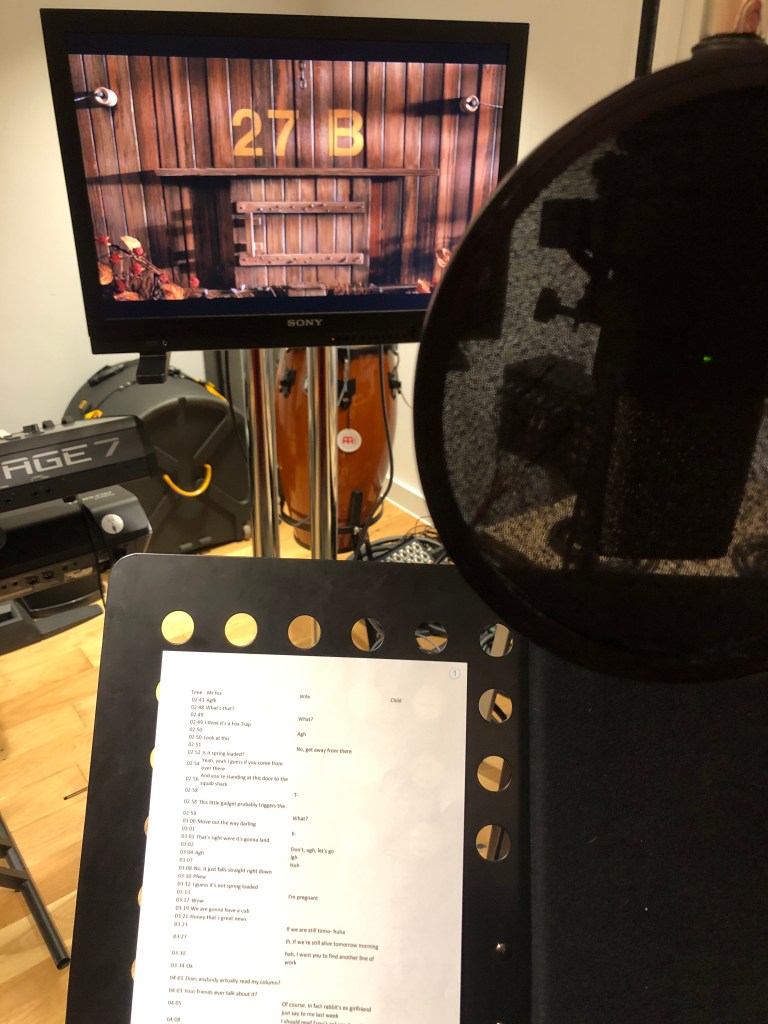
We first started with a spotting and dialogue session, where we divided our efforts. One wrote all Foley requirements and the other re-wrote all dialogues. We now knew beforehand what we needed for our sessions.
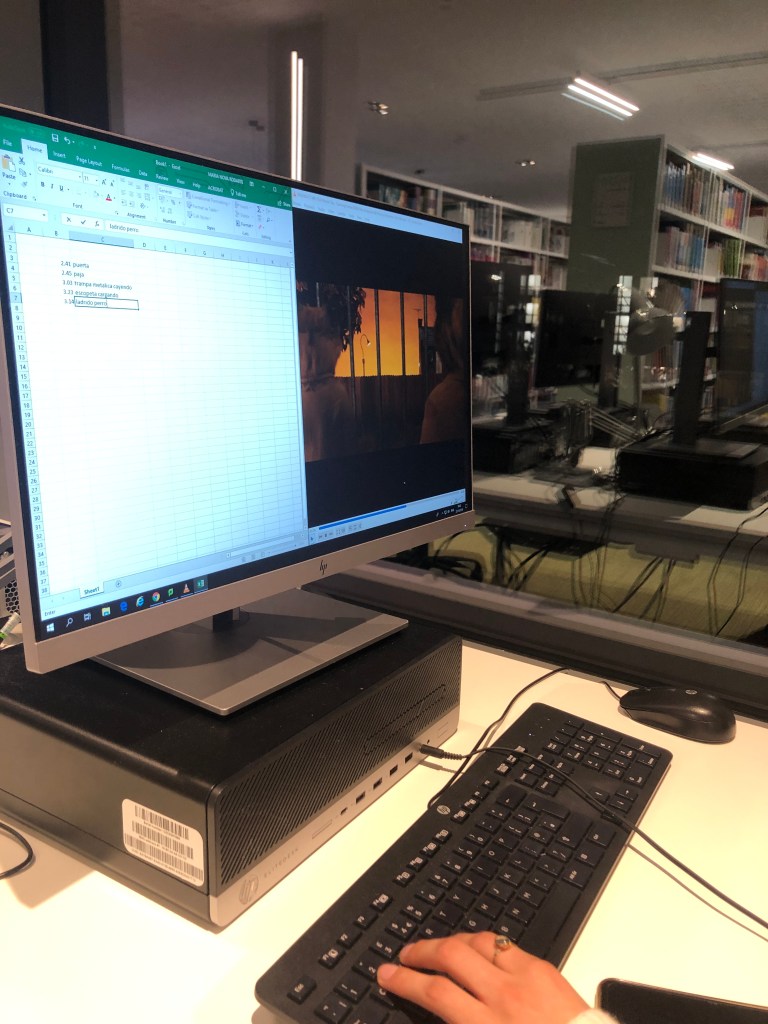
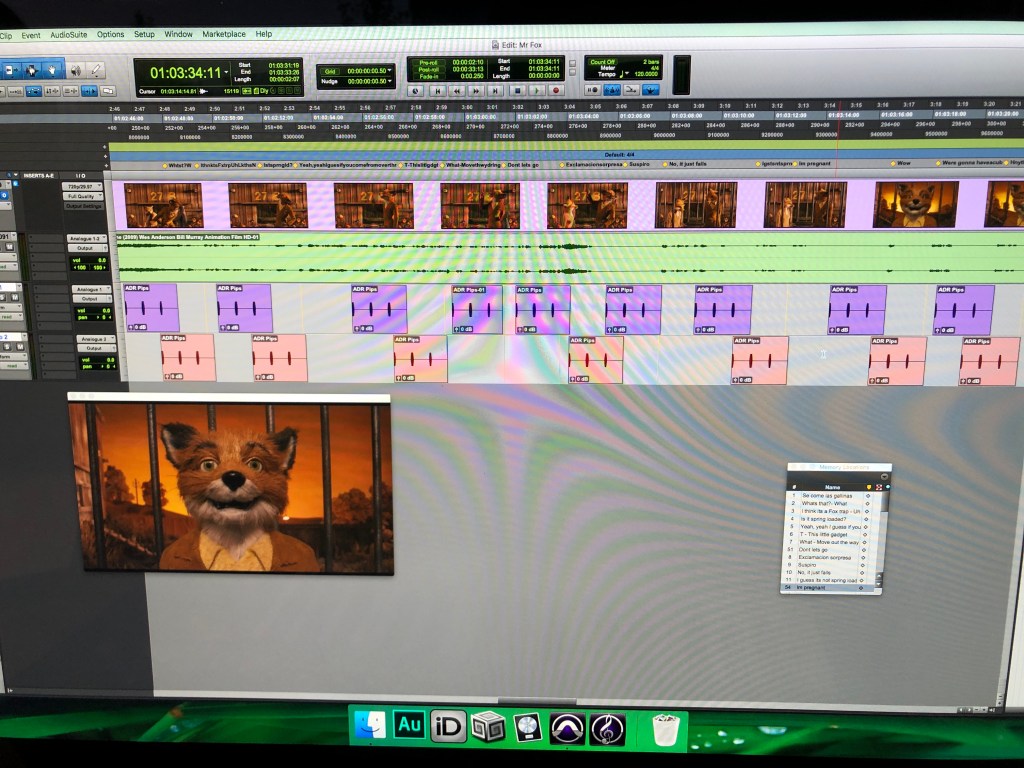
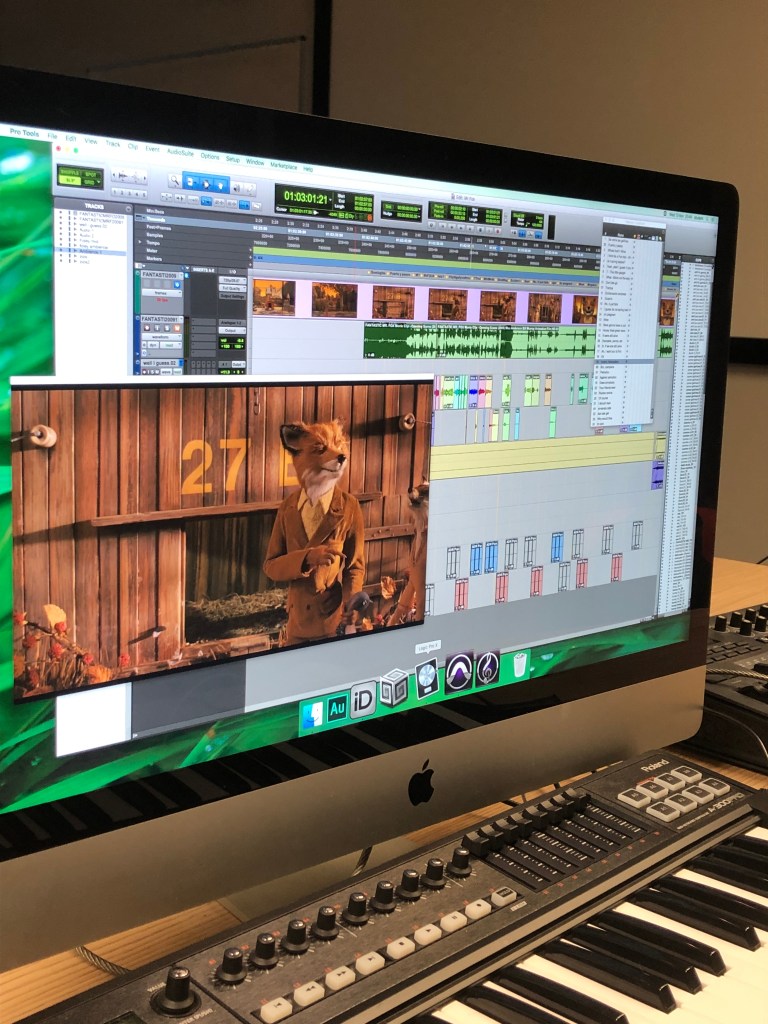
Then we moved everything to Pro Tools, we spotted the session and placed ‘bips’ for every dialogue we were doing. We also placed markers for making the recording session more agile.
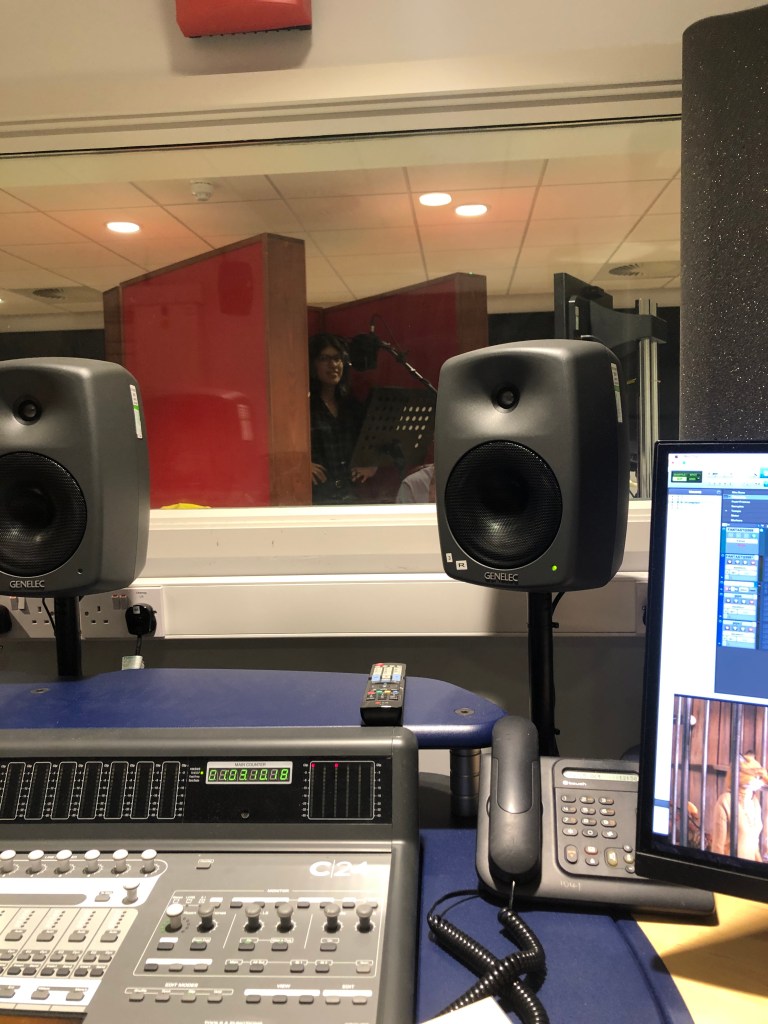
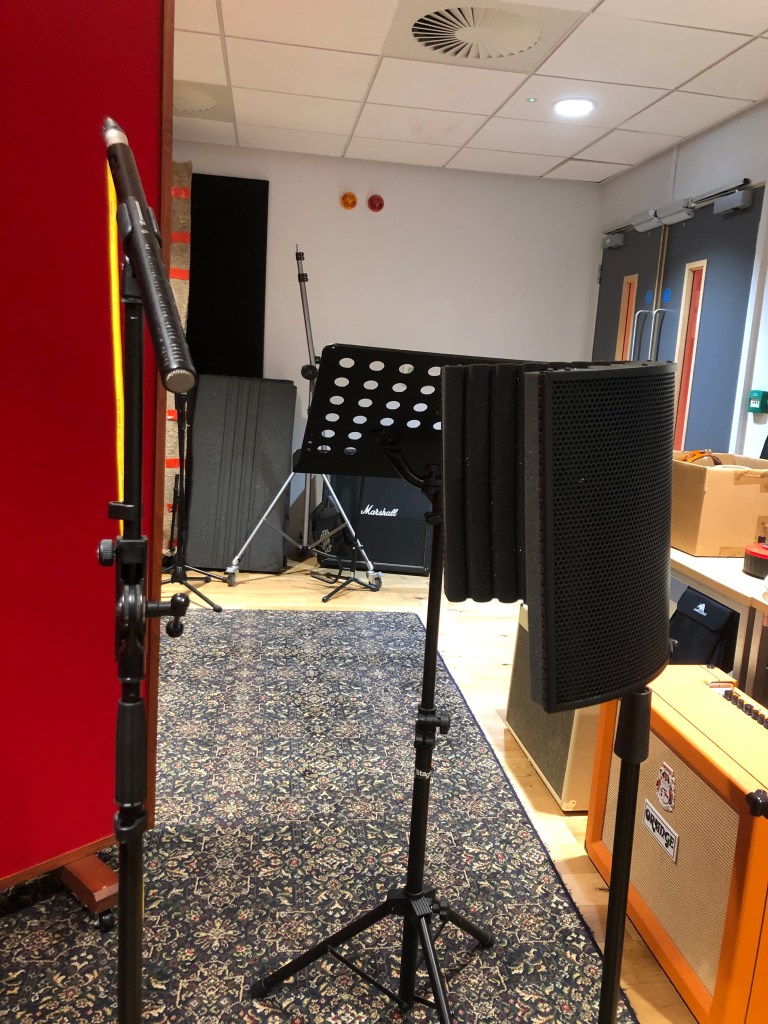
Our first session was purely recording dialogue, we started with Mr. Fox and Felicity Fox, we both decided to embrace each of us one of the characters because we wanted to work in both sides of the studio.
For the voice, we used a AKG C414 Condenser Microphone. A Condenser microphone works best for studio because, as opposed to a Dynamic microphone, it does not need an intense amount of ‘power’ for it to work best, which is the main reason Dynamic mics work better for live performances. The receiving signal of the Condenser mics is more clear and accurately, they respond to fast attacks better than the two other types of mics, and since almost every line is barely spoken loudly, we knew we had to use a Condenser.

The next sessions were outside of the studio. We edited every piece of dialogue we had in it and we paired with the original image.
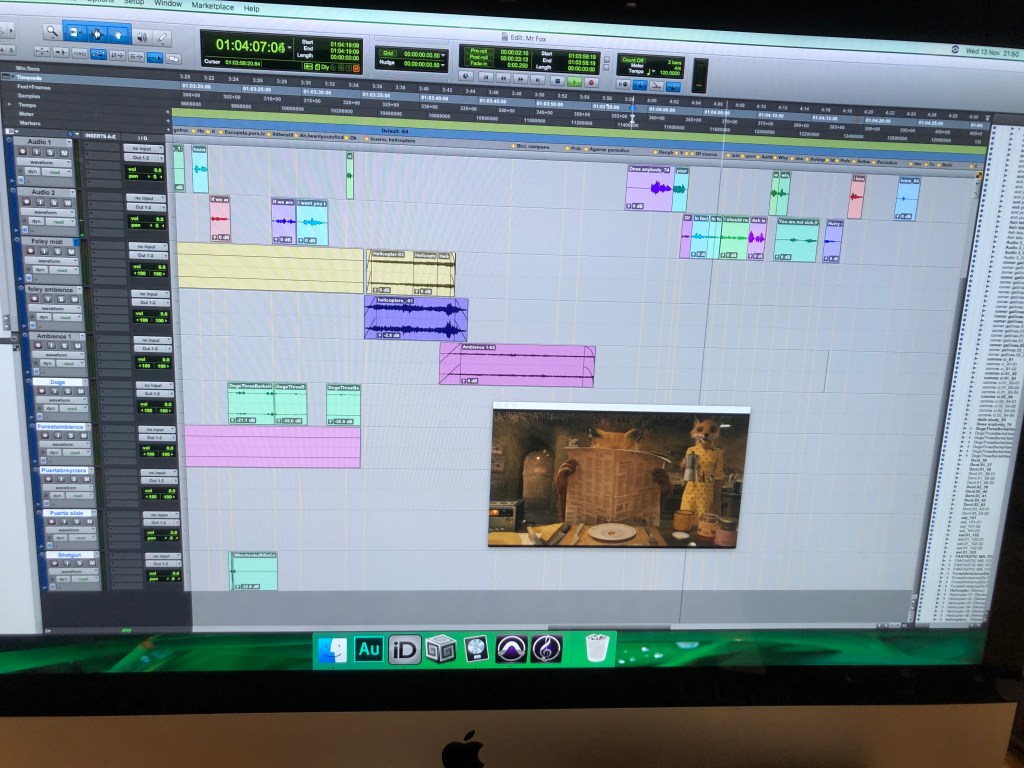
Then we proceed to place markers for the Foleys we needed to record and the dialogue we were re-doing again.
The first Foley recording session we started with the sounds we knew were ‘easy’ to recreate, since most of them are a day-to-day natural sound for us, for example a periodic paper, dishes, toothbrush effects, clothes, in others. This noises we knew we could re-create them with their actual sound from real life, and we did.
Here we used a Rode NTG2 Shotgun Microphone. The shotgun microphones use unidirectional response to achieve a higher concentration of sound. Therefore, they work so good for Foley.

We then had to figure out how to re-do the more ‘artificial’ sounds, like the shotgun, tape recorder, falling cage, sliding doors, bike movement, helicopter, barking dogs and crickets. The last three we decided to use pre-existing recordings we had lying around, but for the others we had to get ingenious.
For the re-loading shotgun, we used a pencil case:

For the bike movement, we used a tambourine:

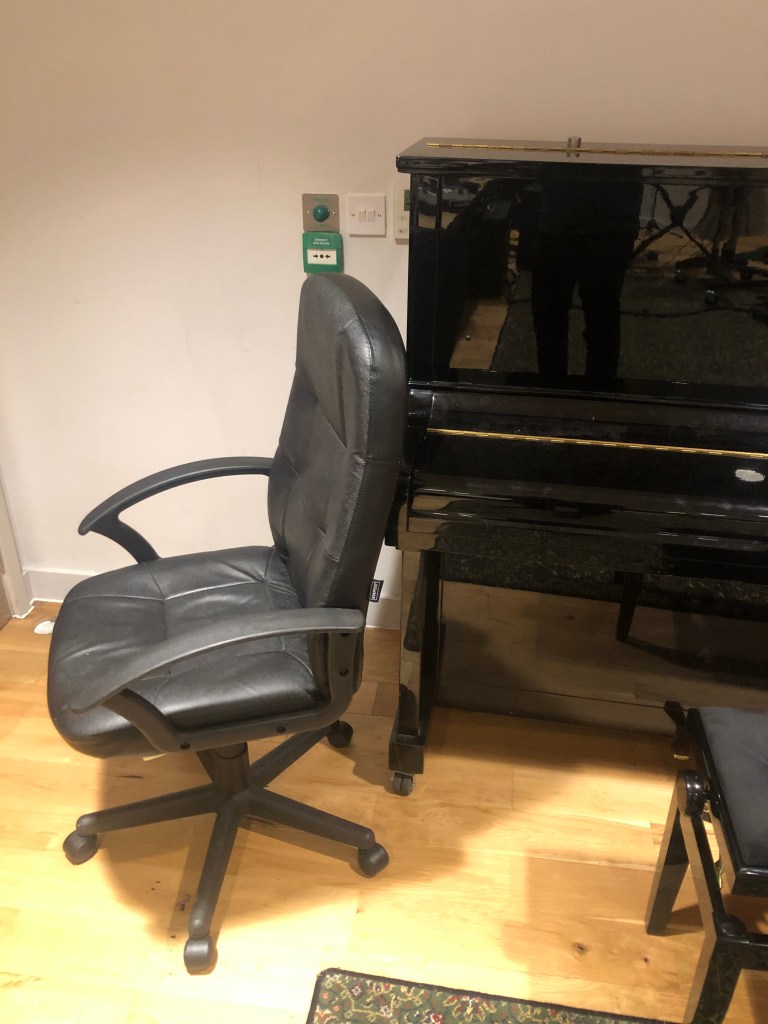
For the sliding door, we used a chair rolling in hard floor:
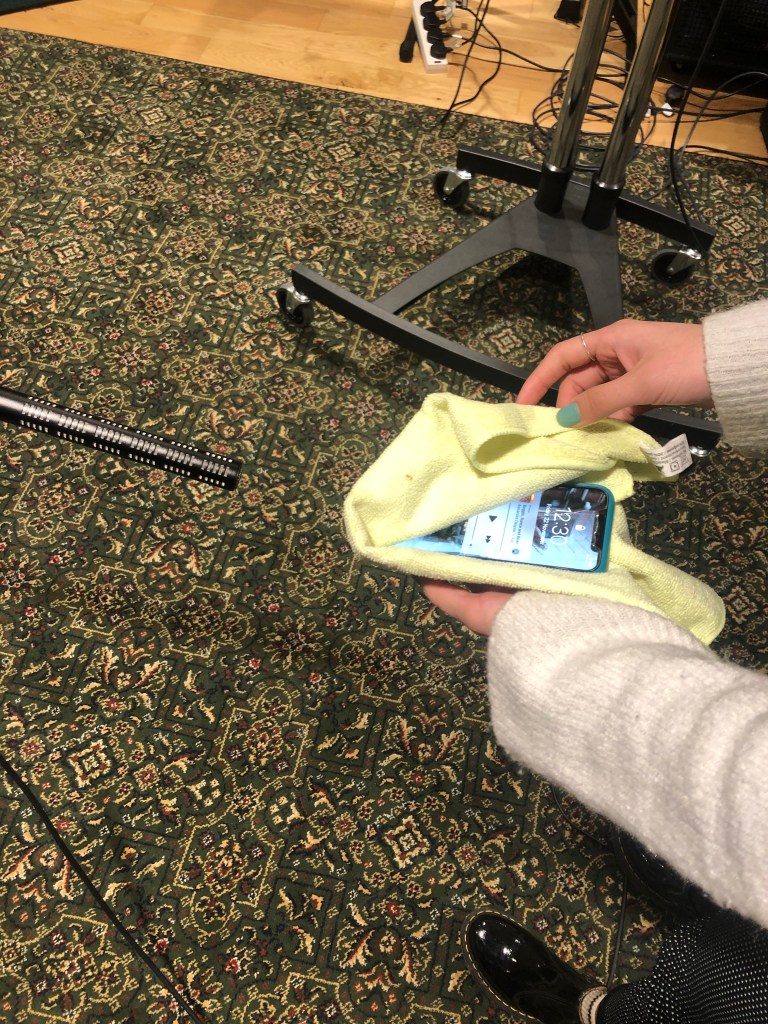
For the diegetic ‘antique’ music tape recorder, we played the original score from a telephone while covering the audio source:
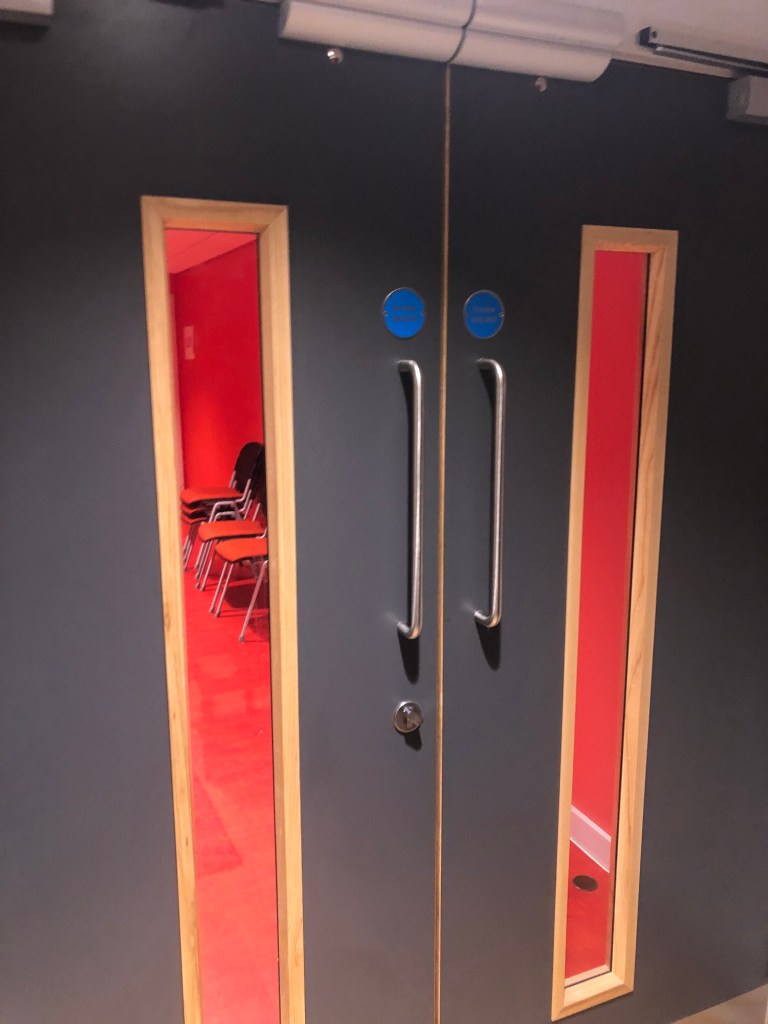
For the door, we used the ‘click’ sound this specific door made when opened:
And for the ‘Click’ from the tape recorder we used a stapler (I forgot to take a picture)
Now, for the cage we remembered we had several metal sound recordings from our first class, where we went around campus using a TASCAM and several other portable recording instruments. So, we placed them all together to create the ‘falling’ cage and pulling chain sound effects.

On our last recording session, we noticed we only were missing a child, and in big production movies they would cast a child actor, but, since we are not from here, it was almost impossible for us to get one, so, we used one of our classmates for it, the only problem here was the accent, but, every family is different, right?
Now we were down to just editing sessions, we edited every last detail, we paned most of the dialogues and sfx to give the illusion of movement following a character, we added reverb to the voices to make the illusion of a larger room or a noticeable distance between the characters.
The last day we bounced our whole mix and went to the studio to use the iZotope Insight Plug-in. As said in its help guide, ‘Insight provides a full suite of audio analysis and metering tools, perfect for visualizing changes made during the mixing and mastering process, troubleshooting problematic mixes, and ensuring compliance with broadcast loudness standards.’ This plug-in allows us to monitor the loudness overall our mix, to see if we have to fix any inconvenience regarding the recommended broadcast specs (this time we did it according to the European Broadcasting Union).
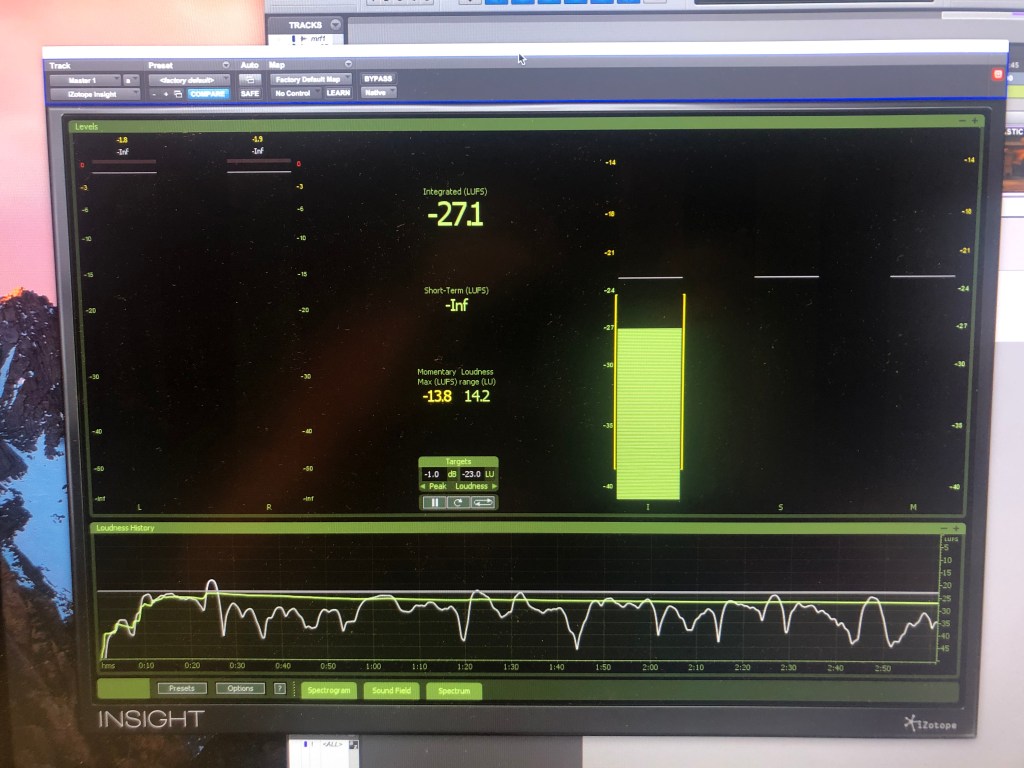
We used it to check the loudness meters in our mix (‘real time displays that calculate the perceived loudness of your audio), we wanted to stay close to -23dB overall (EU regulations.)
This method, aside from being mandatory, has been found to be more accurately in the calculation of how we perceive loudness, that’s why we have to follow certain regulations (it varies in every broadcast union)
The graph at the bottom is called ‘Loudness History Graph’, this monitors loudness in real time and shows any issues in the mix. The gray area is the ‘Loudness Target’, we have to keep an eye in here, because if any issue surpasses this target by an exaggerated amount, the graph will turn red and it would mean it has a loudness violation.
Contis, E. (2019): What is Foley Sound and Why You Need It? Available at: https://www.careersinfilm.com/foley-sound/
(Accessed: 14 December 2019)
Studiobinder (2019): What is ADR in Film? Will it Save or Ruin Your Film? Available at:
https://www.studiobinder.com/blog/what-is-adr-in-film/
(Accessed: 14 December 2019)
